· Umm Aishah · Homeschool · 3 min read
Wooden Alphabet Tracing Boards: How I Teach Letter Recognition to a 3-Year-Old
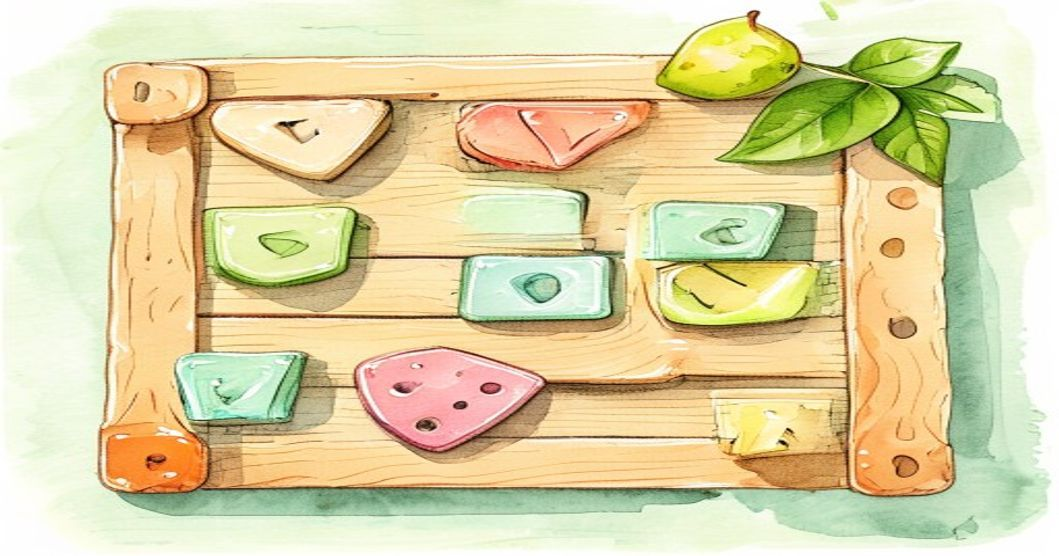
Part of my homeschool method: a simple wooden groove board where my youngest places letter and fruit tiles into their shapes — no pressure, all play.
This is the first post in a series, My Homeschool Method, where I record the actual techniques, routines, and materials I use to teach my own children — so I can look back on them later, and so other mothers can benefit too. InshaAllah.
When my elder daughter was around 2.5, and now again with my youngest at 3, one of the very first tools I reach for is a wooden board with letter-shaped grooves.
It sounds almost too simple. The board has cut-out shapes — the outline of each letter — and a set of wooden tiles that fit into those grooves. Some sets use fruits or animals instead of letters. My youngest has one with both: she places the alphabet tiles into their grooves, and separately she places fruit tiles into fruit-shaped grooves.
Here is why this little board does so much work for us:
1. It teaches without a “lesson.” The child is not sitting down for a formal class. She is playing. She picks up the “A” tile, feels its shape, and presses it into the groove that matches. The board itself teaches — the tile only fits where it belongs.
2. It builds letter recognition gently. We do not start with all 26 letters. We start with a few. I say the letter’s name, make its sound, and she places the tile. “This is A — ahh. Can you put A in its home?” Over days and weeks, the shapes become familiar friends.
3. It strengthens fine motor skills. Picking up a small tile, turning it, lining it up with the groove — that is real hand work. It prepares her little fingers for writing later, without a single worksheet.
4. It includes objects, not just letters. The fruit tiles are her favorite. She learns “apple goes in the apple shape,” which quietly teaches matching, sorting, and object names alongside the alphabet.
How we actually use it
- A few minutes at a time, when she brings me the board — never when I have to force it.
- I name the letter and its sound as she places each tile.
- When she gets one wrong, I do not correct harshly. I just show her the groove that fits and let her try again. The board does the correcting.
- We celebrate when the whole board is filled: “Look, you did it all by yourself!”
By the time she was placing every tile correctly, she already knew most of her letters — without ever feeling like she was being “taught.”
This is the heart of how I teach at this age: make the learning physical, playful, and self-correcting, and let repetition do the rest.
Things we use (and you can too)
You do not need anything fancy, but if you would like the kind of materials we use, these are the types of products that have worked in our home. (Links are Amazon searches — replace YOUR_AMAZON_TAG with your Associates tag, or I can wire it in for you.)
- Wooden alphabet tracing / inset board — the groove board with letter tiles
- Wooden fruit and object matching board — for the object-matching version
- Large wooden letter tiles (single set) — good for tracing practice too
Helpful resources
- Teaching Arabic at Home — how we introduce Arabic letters the same gentle way
- Islamic Homeschool Curriculum — the bigger picture of our days
- Arabic Alphabet Flashcards (Free Printable) — a free companion for letter practice
Next in this series: how we “scatter” foam and wooden letters around the whole house so the alphabet becomes part of everyday life.